
Managing groups
What are groups?
Section titled “What are groups?”Groups organize your translation entries, similar to folders.
- A project contains top-level groups.
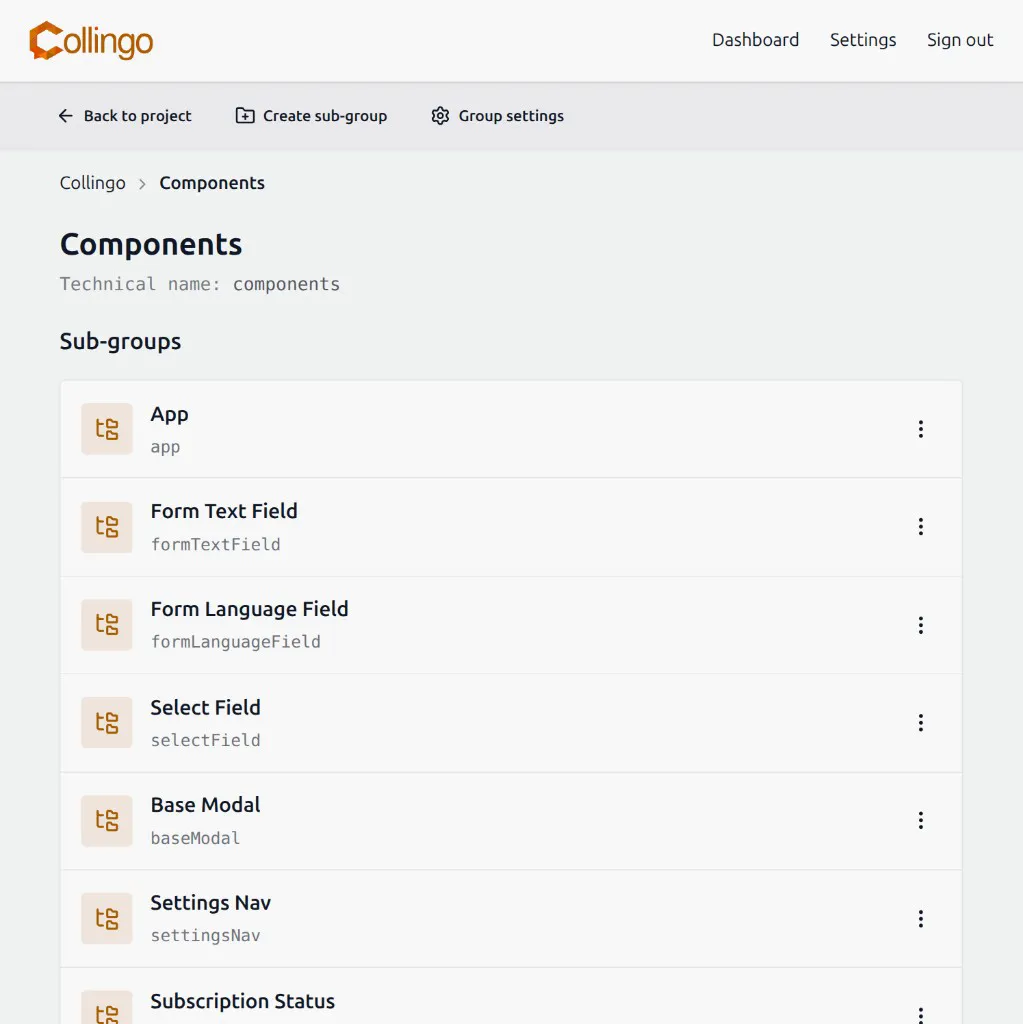
- A group can contain sub-groups and entries.
- Each group has a display name (for people) and a technical name (for keys and exports).
The technical names of parent groups form a path used in exports, for example pages.home.titleWelcome.
Where can I find the groups?
Section titled “Where can I find the groups?”- Open a project from the dashboard. The project page lists top-level groups.
- Open a group to see its sub-groups and the entry editor.
- Use the breadcrumb on the group page to move up the hierarchy.
How can I create groups?
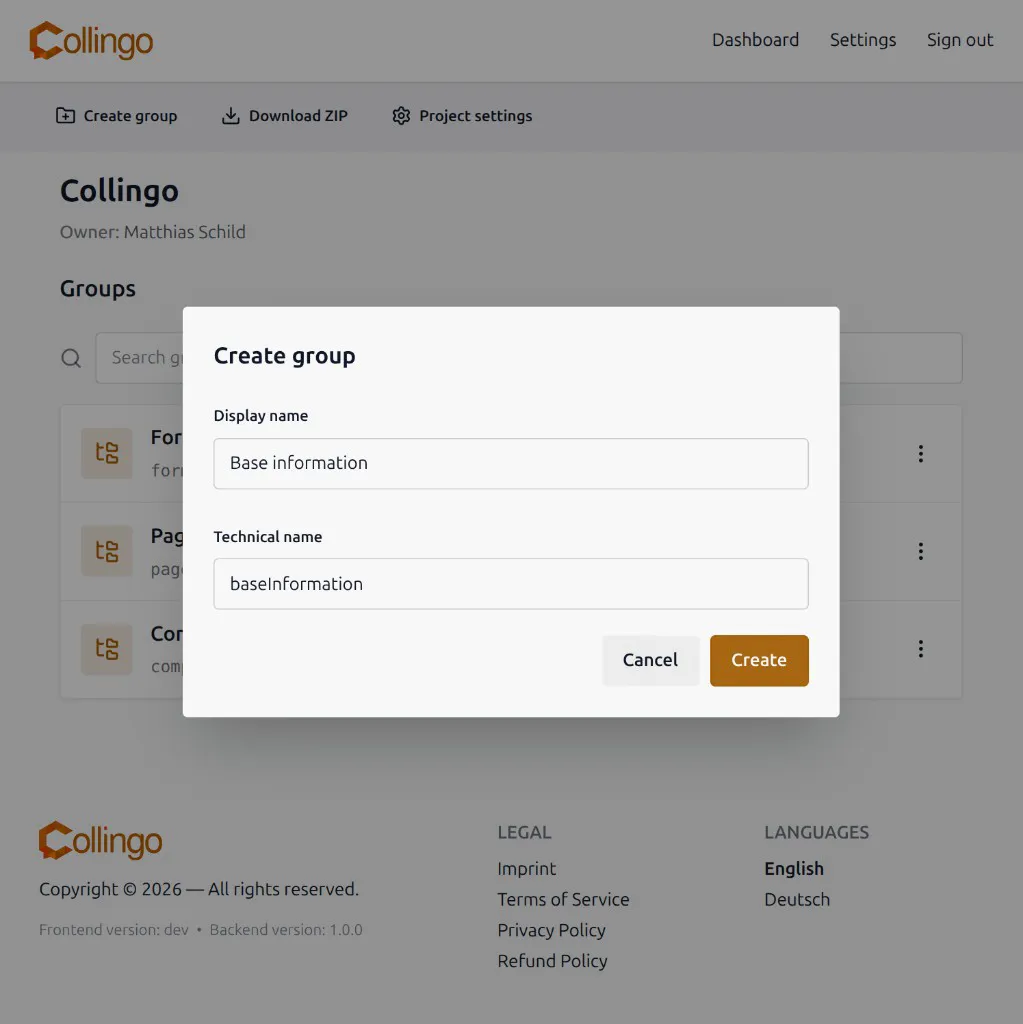
Section titled “How can I create groups?”- On the project page: Create group (top-level).
- On a group page: Create sub-group.
Enter a display name and a technical name. The technical name must be unique among siblings under the same parent. See Technical Names.
How can I edit my groups?
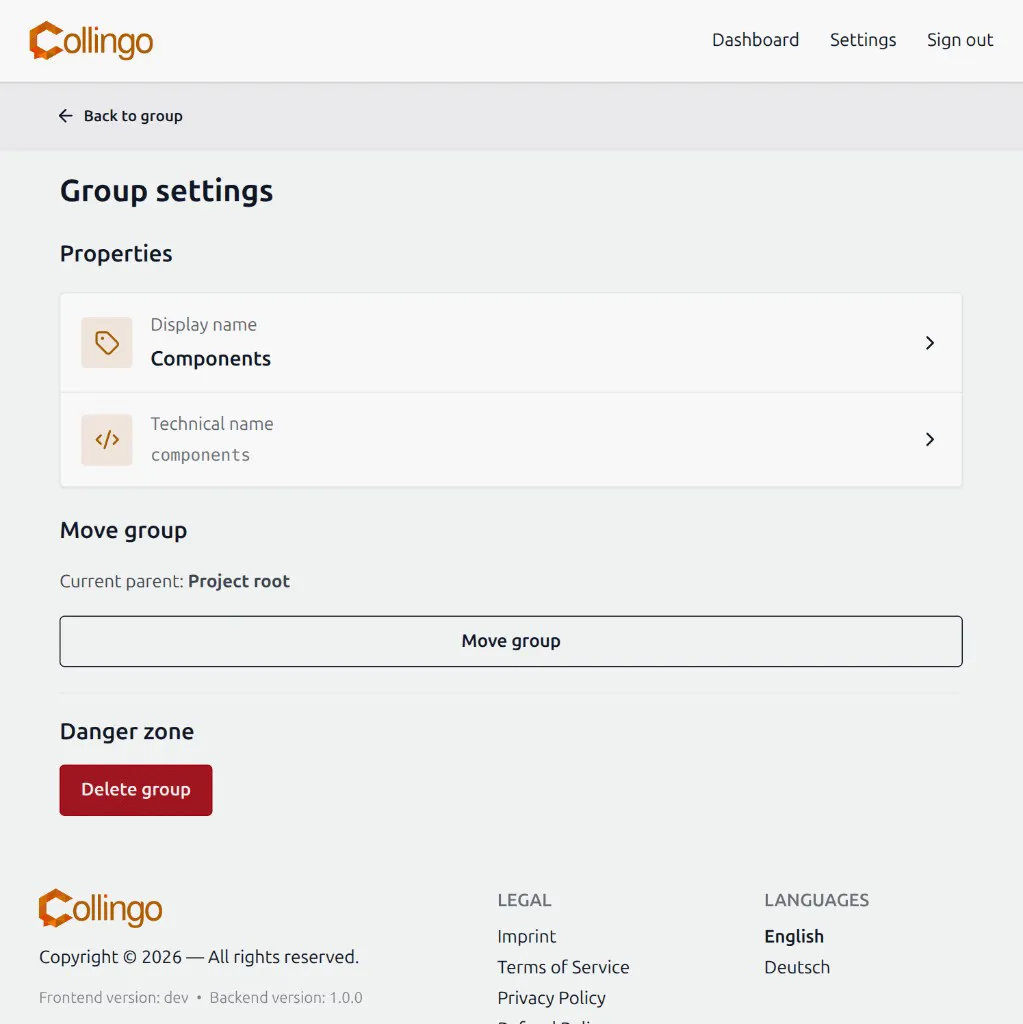
Section titled “How can I edit my groups?”Open the group, then go to Group settings (available if your role can edit groups).
There you can:
- Change the display name
- Change the technical name
- Move group to another parent (or to the project root)
Moving a group changes where it sits in the hierarchy and can change export key paths for everything inside it.
How can I delete a group?
Section titled “How can I delete a group?”In Group settings, use Delete group in the danger zone (or delete a sub-group from the parent group page) and confirm.
Important: Deleting a group also deletes all of its sub-groups and entries (and their translations). This cannot be undone.