
Translate your first entries
Translate your first entries
Section titled “Translate your first entries”Open a group that already has entries. In the entry editor:
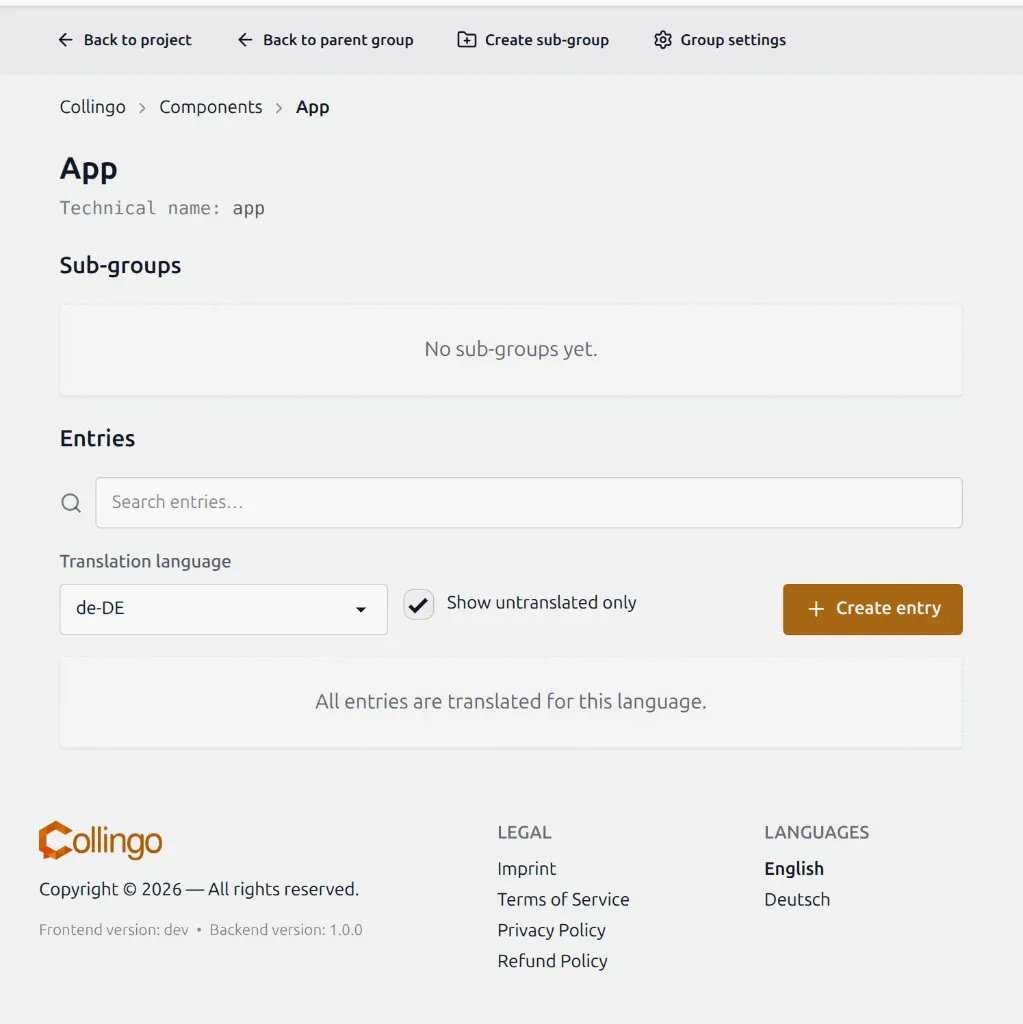
- Choose a translation language from the language selector (languages come from the project settings).
- Optionally enable Show untranslated only to focus on missing translations.
- Optionally use the search field to filter by technical name or base term.
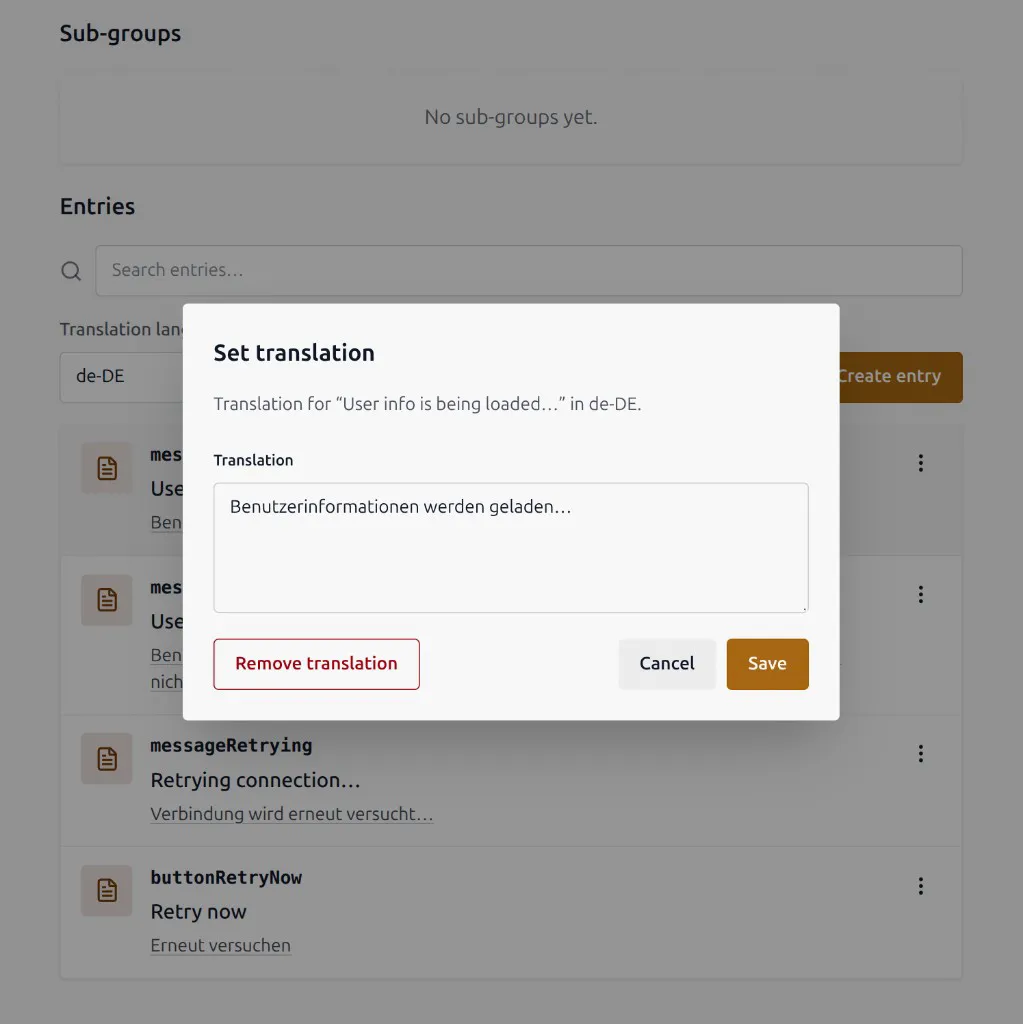
- Click an entry row to open the Set translation dialog.
- Enter the translation and click Save.
When Show untranslated only is on and everything is already translated for the selected language, the list shows that all entries are translated:
If the project has no translation languages yet, add them under Project settings first.
You can also click Remove translation in the same dialog to clear a translation for that language.
More detail: Translating entries.